Showing posts with label tools. Show all posts
Saturday, 15 August 2015
Monday, 27 July 2015
Ford Hallam 2
One of the things I admire most about Ford is his absolute commitment to the traditions taught to him by his sensei. There is a great integrity about not just his techniques but his approach to the way of learning and teaching the subject. All aspects of Japanese thought processes, aesthetic considerations and spiritual ethos are brought to bear on any subject he chooses to portray.
"The classical tradition which I'm presenting is a coherent system that has evolved over more than 1000 years and has given birth to some of the worlds most remarkable metal art. The methods and approach of these artists were not at all simple, nor easy, and any attempt to learn from the past it is sometimes going to entail doing things the hard way to ensure we don't miss something of value. The fact is we can only begin to asses the value of each aspect at the end of the learning process, not at the start."
Ford Hallam
It is not to just be able to replicate some skill level or make objects similar in look that I wish to attain, but to walk this particular path engenders a spirit of mindful approach which I am looking to grow within myself. This approach is exemplified in both Ford and many of his students.
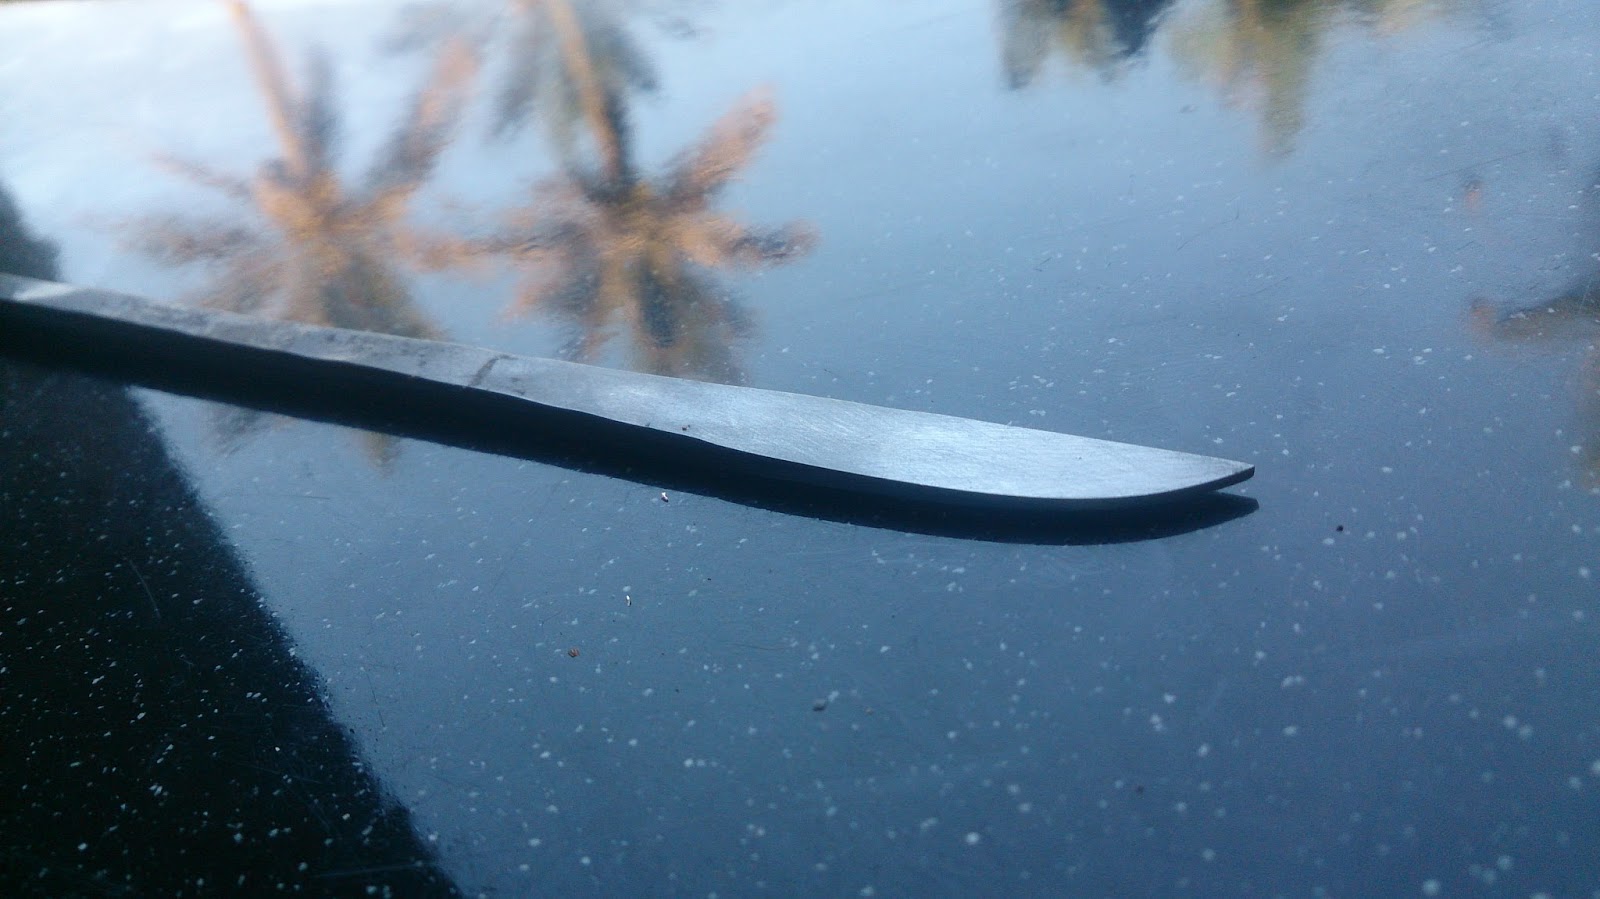
The making of your own tagane, punches and hammers is the start of the skills required. Knowing good heat treating, how to grind, file and sharpen chisels is essential. These skills support good carving as there is often a place in a new piece which needs a different shape or size tool.
During the period swords were banned in Japan, makers of sword fittings turned their skills towards all metal work including jewellery, box inserts, netsuke and pots. This gives a precedent to be able to work on all forms of metal, the approach and techniques used are as important as the final piece.
"The classical tradition which I'm presenting is a coherent system that has evolved over more than 1000 years and has given birth to some of the worlds most remarkable metal art. The methods and approach of these artists were not at all simple, nor easy, and any attempt to learn from the past it is sometimes going to entail doing things the hard way to ensure we don't miss something of value. The fact is we can only begin to asses the value of each aspect at the end of the learning process, not at the start."
Ford Hallam
It is not to just be able to replicate some skill level or make objects similar in look that I wish to attain, but to walk this particular path engenders a spirit of mindful approach which I am looking to grow within myself. This approach is exemplified in both Ford and many of his students.
The making of your own tagane, punches and hammers is the start of the skills required. Knowing good heat treating, how to grind, file and sharpen chisels is essential. These skills support good carving as there is often a place in a new piece which needs a different shape or size tool.
During the period swords were banned in Japan, makers of sword fittings turned their skills towards all metal work including jewellery, box inserts, netsuke and pots. This gives a precedent to be able to work on all forms of metal, the approach and techniques used are as important as the final piece.
Sunday, 26 July 2015
Tiaan Burger part 2
One of the major advantages I gained from the visit with Tiaan was to be able to see both the tools and some finished pieces in real life. Pictures and descriptions can be very misleading when trying to learn about something entirely new.
Tiaan's tagane were much more refined than the ones I had made thus far. The body and points were smaller. The angle of the cutting edge was steeper. These are things I find you can only see when actually holding an object. Tiaan is also very experienced with forging and working with steel so his tools are excellently made.
| Tagane |
| Tagane next to a steel ruler showing the length at approx. 11.5cm |
| This is a scraper, it is used to smooth out chisel marks before the abrasive stones |
| Another view of the same scraper, they are really effective and can also be used for subtle shaping |
Tiaan Burger
Tiaan Burger is a South African knifemaker and artist. I had been following his work on facebook because of the mutual interest in knife making. Recently he has also started posting some traditional Japanese carving which he learnt much the same way as myself, through the Iron Brush forum and by contacting Ford Hallam. He was able to spend some time in Ford's workshop as well which is something I would dearly like to do.
I contacted Tiaan and was fortunate enough to be able to interview him when he was in Durban on holiday. I am very interested in Tiaan's work because he doesn't just take Japanese techniques and carve Japanese motifs but rather uses Japanese techniques to carve South African scenery, fauna and flora. In the interview I asked about this and he said he likes to imagine a Japanese craftsman growing up in South Africa. The Japanese used their surroundings as inspiration, so too should we.
![]() |
| Traditional Japanese techniques and materials applied to South African scenery and animals. |
![]() |
| Gathering motifs from your surroundings |
![]() |
| Translating that into the traditional form of a tsuba or Japanese sword guard |
Sunday, 10 May 2015
Sunday, 3 May 2015
Blanks ready for shaping and a new project
Saturday, 2 May 2015
New blanks, new blisters
I bought some Saben silver steel from Bohler steels. 8mm round bar, 2m long to forge into small tapered tagane blanks. After a chat with Tiaan Burger, and a chance to handle his tagane, I realised mine are way too big and need refinement.
My knife maker friend has a forge and anvil and a whole workshop setup so I went there to do the forging.


After forging and cutting off the blanks, the steel needs to be normalised, which means heating to critical temperature and allowing it to air cool. This settles any internal stress the steel may have from the forging. On the last normalising cycle, the tool get put into vermiculite to cool over a much longer period of time. This is annealing, it softens the steel so I can shape it with a file.
Next step is shaping by grinding and filling, then hardening and tempering, then sharpening. By the end of the week I should have a batch of new tagane and punches.
My knife maker friend has a forge and anvil and a whole workshop setup so I went there to do the forging.


After forging and cutting off the blanks, the steel needs to be normalised, which means heating to critical temperature and allowing it to air cool. This settles any internal stress the steel may have from the forging. On the last normalising cycle, the tool get put into vermiculite to cool over a much longer period of time. This is annealing, it softens the steel so I can shape it with a file.
Next step is shaping by grinding and filling, then hardening and tempering, then sharpening. By the end of the week I should have a batch of new tagane and punches.
Sunday, 29 March 2015
New tagane
I made a new tagane, flat cut but with a rounded top, it let's me cut down at angles without hitting anything accidently with the top of the chisel. It means I can add volume and not just line.
Saturday, 14 March 2015
Titanium and tagane
It seems titanium is more demanding on the points of the tagane (tagane are the collective name for the types of chisels I am using) I may have to re-heat treat these or find a better material to make them from. The ones I have are high carbon steel but if I want to chisel titanium I may have to get some high speed stainless blanks. Tungsten I think would be too brittle.


Sunday, 12 October 2014
When heat treating is off
One of my chisels is going blunt really quickly. On closer inspection, I saw that the edge was rolling which means the steel is not properly hardened. This is probably the result of inaccurate tempering. I'll have to harden and temper the chisel again. It's difficult to get a good picture of the rolled edge but here is my attempt.


Wednesday, 1 October 2014
Tom Herman
Searching for references to the type of work I have in mind, I found the website of Tom Herman
Using a mixture of piercing and carving he makes intricate jewellery which seems to echo the use of borders and negative space found in decorative iron work. Although it's not explicit in his website, other articles about him have mentioned the making of tsuba as well as the use of chisels and tiny hammers so i can surmise he is using the same Japanese techniques I am interested in.
| This is almost exactly the type of work I picture when I say carving and decorative iron work. |
Monday, 1 September 2014
A productive weekend
I managed to get all the elements needed to make my pitch bowl and chisels.
I attached a brake part to a cut off bowls wood and filled most of the cavity with lead. I then melted the pine rosin and added plaster of paris, vegetable oil and a little black colouring. I found the recipe on the Following the Iron Brush forum. It has formed something akin to setters shellac rather than the softer pitch for reppouse. This makes sense as it's job is to hold the piece of metal while both hands are occupied with the hammer and chisel.
I also made a sand bag, just an old pillow case filled with garnet sand I had left over from a different project. Garnet sand great as it is denser than normal sand and the particles are all the same size as it is used in sand blasting.
I also cut old bastard files into strips to make the chisels. I was in contact with another knife maker who does this kind of work and he said old files are the right kind of steel. I still have to anneal the pieces, then shape their faces, then harden and temper them.


I attached a brake part to a cut off bowls wood and filled most of the cavity with lead. I then melted the pine rosin and added plaster of paris, vegetable oil and a little black colouring. I found the recipe on the Following the Iron Brush forum. It has formed something akin to setters shellac rather than the softer pitch for reppouse. This makes sense as it's job is to hold the piece of metal while both hands are occupied with the hammer and chisel.
I also made a sand bag, just an old pillow case filled with garnet sand I had left over from a different project. Garnet sand great as it is denser than normal sand and the particles are all the same size as it is used in sand blasting.
I also cut old bastard files into strips to make the chisels. I was in contact with another knife maker who does this kind of work and he said old files are the right kind of steel. I still have to anneal the pieces, then shape their faces, then harden and temper them.


Monday, 25 August 2014
Japanese metal carving
Here is a short video showing Ford Hallam applying Japanese style metal carving to a western style motif.
http://m.youtube.com/watch?v=sEmTdx6VuWk
If you watch, you will see a range of techniques I would like to start learning. I am in the process if making the tools I will need, pitch bowl, chisels and scrapers. I will also cut up some abrasive stones as there are places sandpaper and rubber wheels fail to reach when carving like this.
http://m.youtube.com/watch?v=sEmTdx6VuWk
If you watch, you will see a range of techniques I would like to start learning. I am in the process if making the tools I will need, pitch bowl, chisels and scrapers. I will also cut up some abrasive stones as there are places sandpaper and rubber wheels fail to reach when carving like this.
Friday, 1 August 2014
Thoughts and feelings around the art deco haircomb
While I was happy that I was able to inlay the silver, I had mixed feeling about the final look. The piece looked fine but the inlay was rough and unrefined. I felt like an amateur which is unusual for me in the metalwork arena.
I have been attracted to the Japanese way of working metal for a long time now but have not dared dive into it yet. The best way I can describe it is 'cold feet' I know that once involved it will consume much of my time and energy. For the practitioners who's work is worth looking at, it has become central to their lives.
So in order to get stuck in I have replaced the word nervous with excited and now I am very excited to give it a go. Fortunately, there is a master in this field who is free with his hard won information and very encouraging to all who contact him with a genuine interest. His name is Ford Hallam and he runs the forum Following the Iron Brush. This is a small example of his work:
The tools are the first step and so I have contacted a bladesmith who lives near me and he will help me with steel selection, heat treatment and grinding the profiles of the chisels.
I have been attracted to the Japanese way of working metal for a long time now but have not dared dive into it yet. The best way I can describe it is 'cold feet' I know that once involved it will consume much of my time and energy. For the practitioners who's work is worth looking at, it has become central to their lives.
So in order to get stuck in I have replaced the word nervous with excited and now I am very excited to give it a go. Fortunately, there is a master in this field who is free with his hard won information and very encouraging to all who contact him with a genuine interest. His name is Ford Hallam and he runs the forum Following the Iron Brush. This is a small example of his work:
The tools are the first step and so I have contacted a bladesmith who lives near me and he will help me with steel selection, heat treatment and grinding the profiles of the chisels.
Lessons learnt from Art Deco Haircomb
At the start of this project I was pretty confidant, I knew the theory behind inlay and I had a great design to try it out on. What I learnt very quickly is knowing the theory and having ok hand skills id not enough to make something spectacular on your first go.
Here are some of the specific issues I encountered
Burrs go blunt really quickly when they're used on titanium and they cannot be resharpened. Burrs are a fixed size and make a fixed size groove. You cannot carve a tapering groove of uniform depth with a ball burr.
Carving using rotary tools is fairly quick but has limitations. As you use a rubber wheel, the diameter changes. As the diameter of the wheel becomes smaller, you have to compensate by moving it from side to side in the concave, resulting in an uneven finish. Rotary tools have a specific contact area and it's easy to grind somewhere you did not mean to while trying to get into the space you are concentrating on.
You have to cut the inlay pieces quite precisely and then file them to match exactly. If it doesn't fit properly then when you hammer the piece down, the top folds over and it can indent the surface of the base material. If the top folds over too much, it has no base to squish into the undercut. Just using a hammer to smack the pieces in is inaccurate so you have to use a punch.
The solution to a lot of these problems is to carve the grooves and undercuts with chisels instead of using burrs. So this becomes my next mission, to make the correct chisels needed for such work. Using a hammer and chisels requires two hands, therefore I will need to prepare a pitch bowl to hold the work for me as well.
Here are some of the specific issues I encountered
Burrs go blunt really quickly when they're used on titanium and they cannot be resharpened. Burrs are a fixed size and make a fixed size groove. You cannot carve a tapering groove of uniform depth with a ball burr.
Carving using rotary tools is fairly quick but has limitations. As you use a rubber wheel, the diameter changes. As the diameter of the wheel becomes smaller, you have to compensate by moving it from side to side in the concave, resulting in an uneven finish. Rotary tools have a specific contact area and it's easy to grind somewhere you did not mean to while trying to get into the space you are concentrating on.
You have to cut the inlay pieces quite precisely and then file them to match exactly. If it doesn't fit properly then when you hammer the piece down, the top folds over and it can indent the surface of the base material. If the top folds over too much, it has no base to squish into the undercut. Just using a hammer to smack the pieces in is inaccurate so you have to use a punch.
The solution to a lot of these problems is to carve the grooves and undercuts with chisels instead of using burrs. So this becomes my next mission, to make the correct chisels needed for such work. Using a hammer and chisels requires two hands, therefore I will need to prepare a pitch bowl to hold the work for me as well.
Art Deco Haircomb Process
Faced with an Art Deco themed exhibition, I decided to do something which would allow me to try inlay. I thought of a hat pin at first but then found a picture of a hair comb which looked beautiful and which would translate well into the more modern medium of titanium.
I chose to use titanium as it is light which is ideal for something which must stay in the hair. Titanium can also be coloured using heat which would provide the type of contrast to the fine silver inlay I was looking for.
Here is a step by step explanation
I chose to use titanium as it is light which is ideal for something which must stay in the hair. Titanium can also be coloured using heat which would provide the type of contrast to the fine silver inlay I was looking for.
Here is a step by step explanation
![]() |
| design layout and drilled |
![]() |
| Most of the piercing done |
![]() |
| Piercing complete |
![]() |
| Start of the carving, using a carborundum disk |
![]() |
| Pattern grooved out and undercut with ball burrs and setters HD burrs |
![]() |
| Using masking tape and pencil to transfer the shapes of the voids |
![]() |
| One lot in, the next lot cut out and ready inlay |
![]() |
| The fine silver piece I cut the small inlays out of |
![]() |
| One half done |
![]() |
| Completed piece, titanium heat coloured with fine silver inlays |
Subscribe to:
Posts (Atom)